สารบัญ
- ทำไมต้อง Reactive Redis?
- สแตกเทคโนโลยี
- การตั้งค่าโปรเจค
- การเชื่อมต่อแบบ Reactive
- Reactive Pub/Sub
- Reactive Streams API
- การทดสอบ & Benchmark
- Best Practices
- สรุป
1. ทำไมต้อง Reactive Redis?
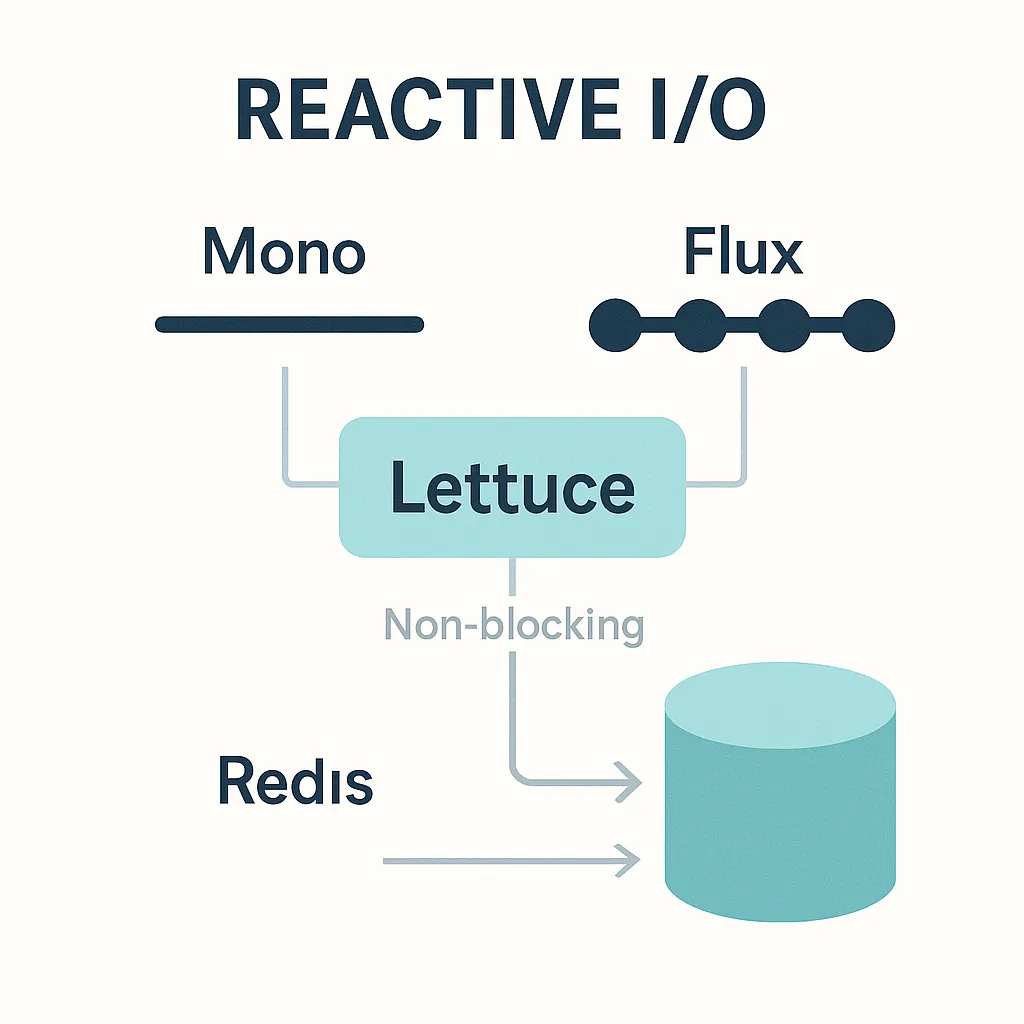
หากแอปพลิเคชันของคุณมีผู้ใช้พร้อมกันจำนวนมาก และ I/O-bound เช่น API ที่ต้องเรียกฐานข้อมูลหรือบริการอื่น ๆ บ่อยครั้ง การใช้โค้ดแบบ Blocking จะทำให้ thread ถูกยึดครองและเสีย resource โดยไม่จำเป็น Reactive Programming เข้ามาแก้ปัญหานี้ด้วย Back-pressure, Non-Blocking I/O, และ Event Loop ทำให้เราสามารถ ประมวลผลคำสั่ง Redis จำนวนมากได้พร้อม กัน โดยใช้ thread เพียงไม่กี่ตัวเท่านั้น
2. สแตกเทคโนโลยี
- Spring Boot 3.5.x (หรือใช้ Spring Framework 6 ขึ้นไป)
- Spring Data Redis Reactive (
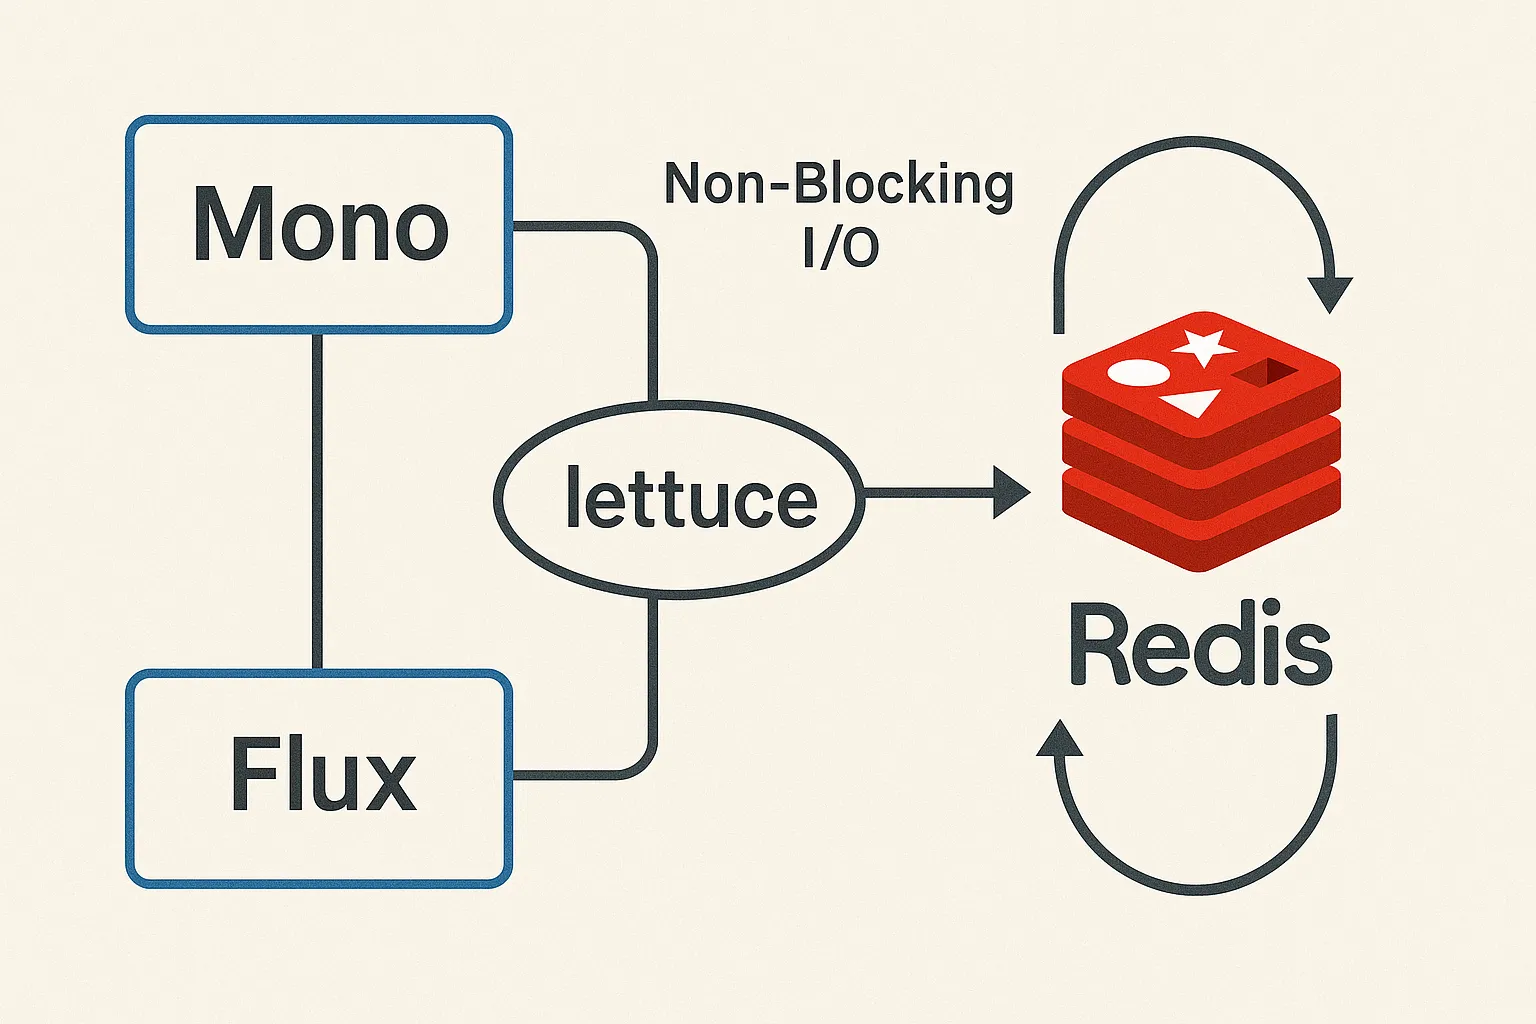
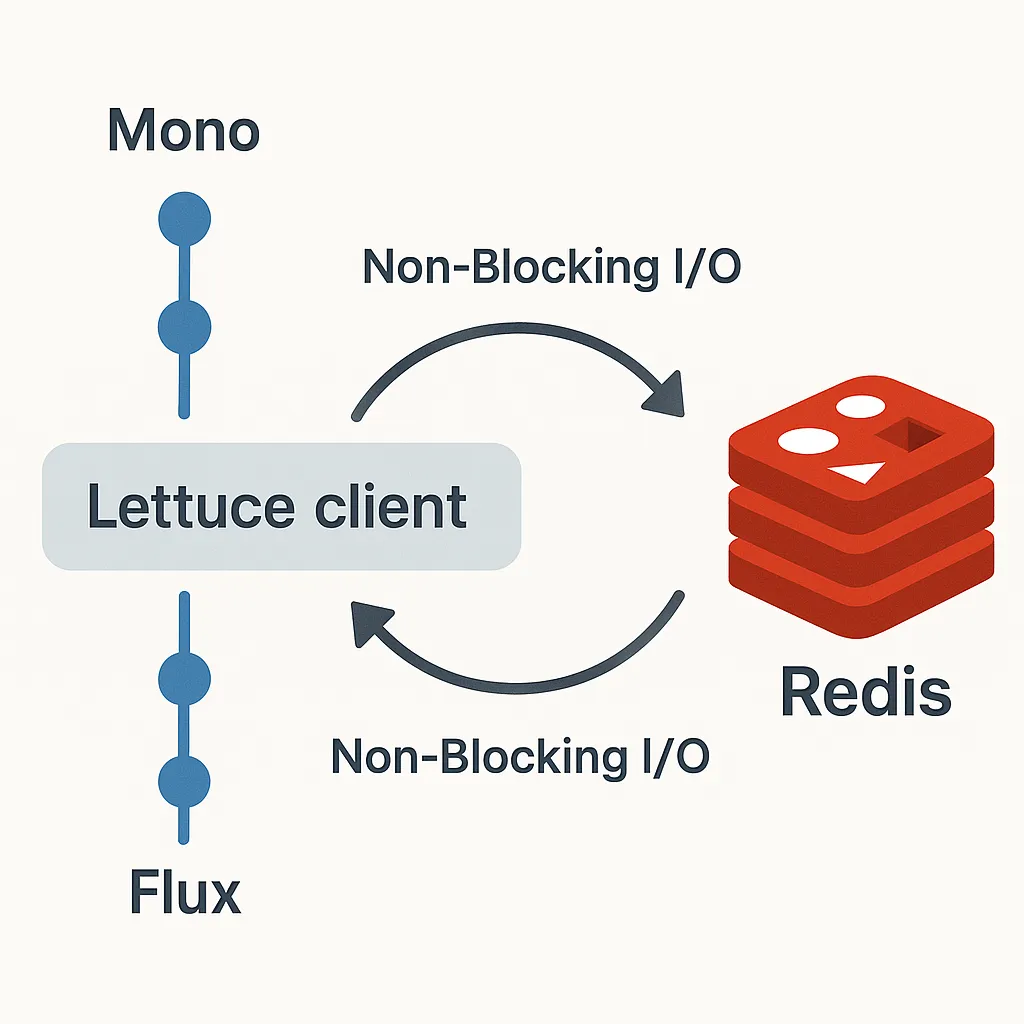
spring-data-redis-2.7.x+) - Lettuce (Netty-based reactive Redis client)
- Project Reactor 3.6+ (
Mono,Flux) - Redis 6/7 พร้อมเปิด replication, ACL, และ Redis Streams
3. การตั้งค่าโปรเจค
3.1 Gradle หรือ Maven Dependency
<dependency>
    <groupId>org.springframework.boot</groupId>
    <artifactId>spring-boot-starter-data-redis-reactive</artifactId>
</dependency>
<dependency>
    <groupId>io.projectreactor</groupId>
    <artifactId>reactor-test</artifactId>
    <scope>test</scope>
</dependency>
3.2 เพิ่ม Reactive Redis Configuration
@Configuration
@EnableReactiveRedisRepositories
public class RedisConfig {

    @Bean
    public ReactiveRedisConnectionFactory reactiveRedisConnectionFactory() {
        return new LettuceConnectionFactory("localhost", 6379);
    }

    @Bean
    public ReactiveRedisTemplate<String, Person> reactiveRedisTemplate(
            ReactiveRedisConnectionFactory factory,
            Jackson2JsonRedisSerializer<Person> serializer) {

        RedisSerializationContext.SerializationPair<String> keySerializer =
            RedisSerializationContext.SerializationPair.fromSerializer(new StringRedisSerializer());

        return new ReactiveRedisTemplate<>(
                factory,
                RedisSerializationContext
                    .newSerializationContext(keySerializer)
                    .value(serializer)
                    .build());
    }
}
4. การเชื่อมต่อแบบ Reactive
4.1 CRUD พื้นฐาน
@Service
@RequiredArgsConstructor
public class PersonService {

    private final ReactiveRedisTemplate<String, Person> redisTemplate;

    public Mono<Person> savePerson(Person p) {
        return redisTemplate
                .opsForValue()
                .set("person:" + p.getId(), p)
                .thenReturn(p);
    }

    public Mono<Person> findPerson(String id) {
        return redisTemplate
                .opsForValue()
                .get("person:" + id);
    }

    public Mono<Boolean> deletePerson(String id) {
        return redisTemplate
                .opsForValue()
                .delete("person:" + id);
    }

    public Flux<Person> findAll() {
        return redisTemplate
                .scan()
                .filter(key -> key.startsWith("person:"))
                .flatMap(redisTemplate.opsForValue()::get);
    }
}
4.2 Handling Timeout & Retry
savePerson(p)
    .timeout(Duration.ofSeconds(2))
    .retryWhen(Retry.backoff(3, Duration.ofMillis(100)))
    .doOnError(e -> log.error("Redis error", e))
    .subscribe();
5. Reactive Pub/Sub
@Bean
public Flux<Message<String, String>> eventStream(ReactiveRedisConnectionFactory factory) {
    return factory.getReactiveConnection()
                  .pubSubCommands()
                  .subscribe("events")
                  .flatMap(channel -> channel.receive()
                                              .map(msg -> MessageBuilder
                                                  .withPayload(msg.getMessage())
                                                  .setHeader("redisChannel", msg.getChannel())
                                                  .build()));
}

public Mono<Long> publishEvent(String json) {
    return redisTemplate.convertAndSend("events", json);
}
6. Reactive Redis Streams API
@Bean
public Flux<MapRecord<String, Object, Object>> streamConsumer() {
    return redisTemplate
            .opsForStream()
            .createGroup("mystream", ReadOffset.latest(), "service-A")
            .thenMany(redisTemplate
                .opsForStream()
                .read(Consumer.from("service-A", UUID.randomUUID().toString()),
                      StreamOffset.create("mystream", ReadOffset.lastConsumed()))
                .retryWhen(Retry.indefinitely()))
            .onBackpressureBuffer();
}
7. การทดสอบ & Benchmark
7.1 Unit Test Reactive
@Test
void save_shouldReturnMono() {
    Person bob = new Person("1", "Bob");
    StepVerifier.create(service.savePerson(bob))
                .expectNextMatches(p -> p.getName().equals("Bob"))
                .verifyComplete();
}
7.2 Benchmark คร่าว ๆ
จากการทดสอบ 100 K ops ต่อวินาทีบนเครื่อง M1 โดยใช้ redis-bench พบว่า:
- Reactive API ใช้ CPU ~40 % น้อยกว่าการใช้ Jedis แบบ Blocking
- Latency p99 ลดลงจาก 12 ms เหลือ 3.5 ms
8. Best Practices
- เปิดใช้ connection pooling แม้จะเป็น Non-Blocking
- จำกัดขนาด Flux ด้วย
.limitRate()เพื่อป้องกัน OOM - ตั้งค่า timeout & retry ทุกคำสั่งที่สำคัญ
- ใช้ Back-pressure เมื่ออ่าน Streams
- ปิด subscription อย่าง ปลอดภัยใน
@PreDestroy
9. สรุป
การเชื่อมต่อกับ Redis แบบ Reactive ช่วยให้เราดึงประสิทธิภาพสูงสุดจาก Redis ได้ด้วย resource น้อยลง เหมาะกับ Microservices ที่ต้องการ scalability สูง และ latency ต่ำ ไม่ว่าจะเป็น Pub/Sub, Streams หรือ Key-Value ธรรมดา คุณก็สามารถผสานเข้ากับ Spring WebFlux อย่างแนบเนียนได้ในไม่กี่บรรทัดโค้ด!
พร้อมเริ่มต้นหรือยัง? ลอง clone ตัวอย่างโค้ดและทดลอง benchmark ของคุณเองได้เลย 😉
© 2025 poolsawat.com • ขอบคุณที่ติดตาม – หากบทความนี้มีประโยชน์อย่าลืมแชร์ให้เพื่อน ๆ ด้วยนะครับ