Spring WebFlux คือ Web Framework ที่พัฒนาโดย Spring Team เพื่อรองรับระบบที่ต้องการ non-blocking, asynchronous และ reactive โดยใช้ Project Reactor ในบทความนี้เราจะมาสร้าง REST API แรกแบบง่าย ๆ ด้วย Spring WebFlux โดยใช้ Annotation-based Controller
เริ่มต้นด้วยโครงสร้าง Project
เราจะใช้ Spring Initializr (https://start.spring.io/) ในการสร้างโปรเจกต์
- Project: Maven
- Language: Java
- Spring Boot: 3.x หรือใหม่กว่า
- Dependencies: Spring Reactive Web
ไฟล์ pom.xml
<dependencies>
  <dependency>
    <groupId>org.springframework.boot</groupId>
    <artifactId>spring-boot-starter-webflux</artifactId>
  </dependency>
</dependencies>
สร้าง Controller แบบ Reactive
เราจะสร้าง REST API ชื่อว่า /api/hello ที่ตอบกลับข้อความ “Hello from WebFlux!”
@RestController
@RequestMapping("/api")
public class HelloController {

  @GetMapping("/hello")
  public Mono<String> sayHello() {
    return Mono.just("Hello from WebFlux!");
  }
}
คำอธิบาย
@RestController: ระบุว่า class นี้คือ controllerMono<String>: ใช้สำหรับส่งข้อมูลแบบ reactive ที่มีค่าเดียว@GetMapping("/hello"): แมป HTTP GET ไปยังเมธอดนี้
ทดสอบ API ด้วย curl หรือ Postman
curl http://localhost:8080/api/hello
# Output: Hello from WebFlux!
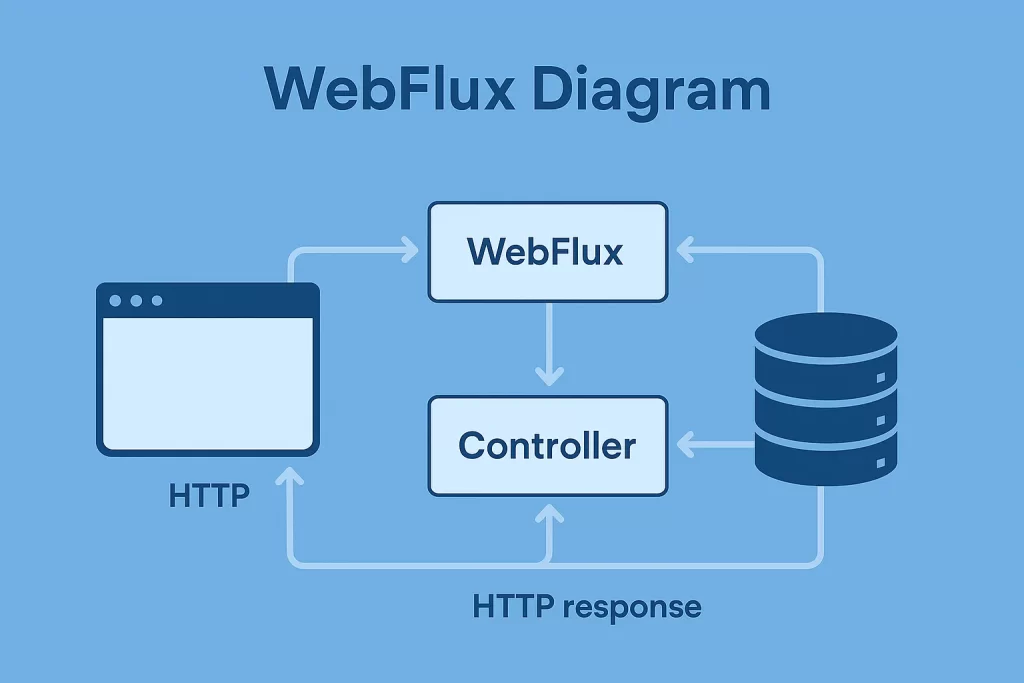
ภาพประกอบ: ลักษณะการทำงานของ WebFlux

เพิ่ม Service Layer
เพื่อความเป็นระเบียบ เราสามารถแยก logic ออกมาไว้ที่ service
@Service
public class HelloService {
  public Mono<String> getGreeting() {
    return Mono.just("Hello from Service!");
  }
}
@RestController
@RequestMapping("/api")
public class HelloController {

  private final HelloService helloService;

  public HelloController(HelloService helloService) {
    this.helloService = helloService;
  }

  @GetMapping("/hello")
  public Mono<String> sayHello() {
    return helloService.getGreeting();
  }
}
เพิ่ม Dependency Injection แบบ Constructor
Spring Boot รองรับการฉีด dependencies โดยใช้ constructor ทำให้ code มีความชัดเจนและ test ได้ง่าย
เพิ่ม Router แบบ Functional
Spring WebFlux ยังสามารถใช้ RouterFunction แทน Annotation ได้
@Configuration
public class HelloRouter {

  @Bean
  public RouterFunction<ServerResponse> route() {
    return RouterFunctions
      .route(RequestPredicates.GET("/api/fun"),
        req ->; ServerResponse.ok().bodyValue("Hello from Functional Route!"));
  }
}
ข้อดีของ Spring WebFlux
- Non-blocking: ประหยัด thread และ scale ได้ดี
- Reactive: เหมาะกับ stream, websocket และ real-time app
- รองรับทั้ง annotation และ functional programming
ข้อจำกัดของ WebFlux
- Debug ยากกว่าการเขียนแบบ blocking
- ไม่เหมาะกับระบบที่ต้องพึ่ง library ที่ไม่รองรับ reactive
โครงสร้างโปรเจกต์สุดท้าย
src/
├── main/
│   ├── java/
│   │   └── com/example/demo/
│   │       ├── HelloController.java
│   │       ├── HelloService.java
│   │       └── HelloRouter.java
│   └── resources/
│       └── application.properties
สรุป
การสร้าง REST API แรกด้วย Spring WebFlux เป็นการเปิดประตูสู่โลก reactive ที่สามารถพัฒนาระบบที่รองรับผู้ใช้งานจำนวนมาก โดยยังคงความเรียบง่ายของ Spring Framework เดิม หากคุณต้องการ performance และ scalability ที่สูง Spring WebFlux คือเครื่องมือที่ตอบโจทย์