ถึงแม้จะมีเครื่องมือสำหรับทดสอบ APIs ที่ดีอย่าง Postman แต่ในบ้างครั้งบน container virtual ก็ติดตั้ง Postman ยากลำบาก cURL จึงมาช่วยแก้ปัญหานี้ …..
cURL คืออะไร
cURL ย่อมาจาก “Client for URLs” และเป็นเครื่องมือบรรทัดคำสั่งสำหรับการส่งคำขอ HTTP สามารถใช้ถ่ายโอนข้อมูลผ่านโปรโตคอลต่างๆ รวมถึง HTTP, HTTPS, FTP และอื่นๆ โดยทั่วไปจะใช้ในการเขียนสคริปต์และระบบอัตโนมัติเพื่อโต้ตอบกับบริการเว็บและ API
จากปัญหาข้างต้นที่ได้กล่าวไว้ว่า ในบางครั้งเครื่องไม้เครื่องมือที่เราถนัดก็ไม่สามารถใช้งานในบางสถานะการ และวิธีที่ง่ายที่สุดคือใช้ cURL ในการทดสอบ
cURL ใช้งานยังไง
คอมพิวเตอร์ทุกเครื่องจะมีเครื่องมือที่ชื่อว่า Terminal (Window OS, Mac OS) เพียงแค่พิมพ์ในช่องค้นหาว่า “terminal” ก็จะเจอ
$ curl
curl: try 'curl --help' or 'curl --manual' for more information
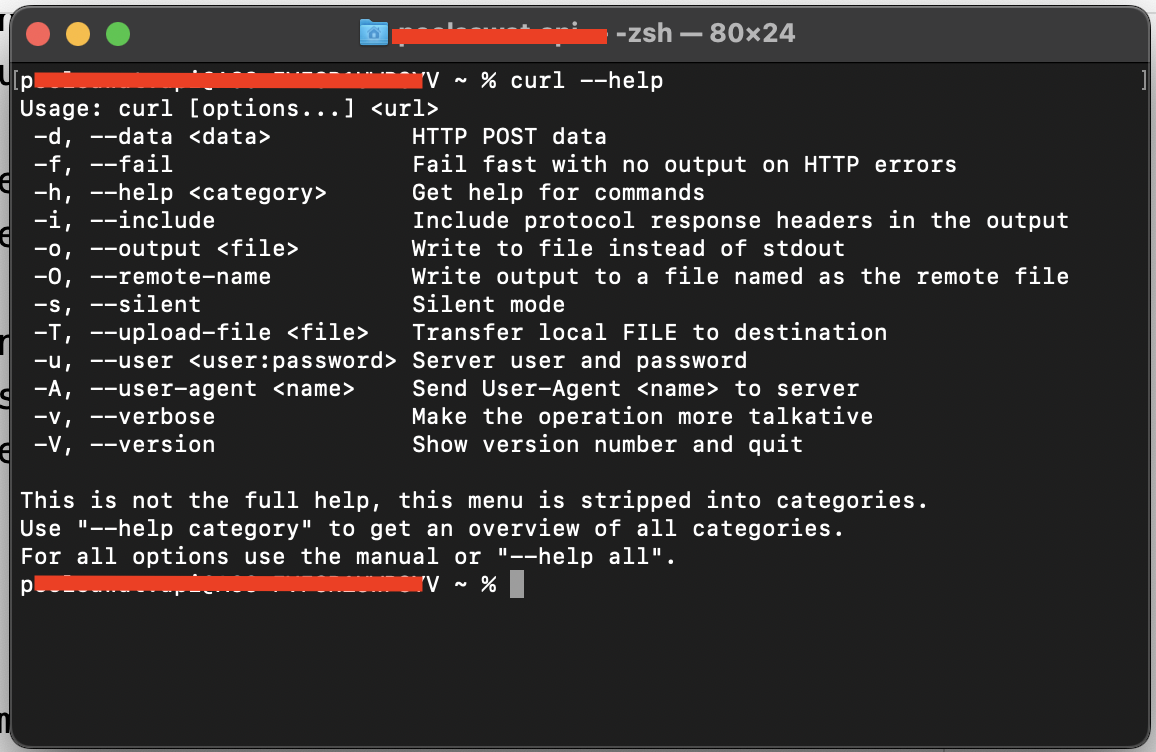
$ curl --help
Usage: curl [options...] <url>
-d, --data <data> HTTP POST data
-f, --fail Fail fast with no output on HTTP errors
-h, --help <category> Get help for commands
-i, --include Include protocol response headers in the output
-o, --output <file> Write to file instead of stdout
-O, --remote-name Write output to a file named as the remote file
-s, --silent Silent mode
-T, --upload-file <file> Transfer local FILE to destination
-u, --user <user:password> Server user and password
-A, --user-agent <name> Send User-Agent <name> to server
-v, --verbose Make the operation more talkative
-V, --version Show version number and quit
This is not the full help, this menu is stripped into categories.
Use "--help category" to get an overview of all categories.
For all options use the manual or "--help all".ตัวอย่างคำสั่งเพื่อใช้งาน
- ส่งคำขอ GET: curl {ระบุ host url ปลายทาง}
$ curl http://example.com- ส่งคำขอ POST ด้วยข้อมูล JSON: curl -H “{header key}: {header value}” -X {HTTP method} -d ‘{raw data}’ {ระบุ host url ปลายทาง}
- `-H` การระบุ properties ใน request headers สามารถกำหนดได้มากกว่า 1 ค่า
- `-X` การกำหนด HTTP method ให้กับ request เช่น POST, GET, PUT, DELETE, OPTIONS, PATCH เป็นต้น
- `-d` การเพิ่ม request body ในรูปแบบ string raw data โดยปกติจะส่งไปในรูปแบบของ json format เ เแต่เมื่อกำหนดให้เป็นรูปแบบ json ต้องใส่ header -H “Content-Type: application/json” เพิ่มไปด้วย request ถึงจะสมบูรณ์
- ** ต้องการส่ง body เป็นแบบ parameters body ให้กำหนด -d “param1=value1¶m2=value2” และไม่จำเป็นต้องส่ง -H “Content-Type: application/json”
curl -H "Content-Type: application/json" -X POST -d '{"key":"value"}' http://example.com- การส่งคำขอรูปแบบ form data คล้ายเหมือนกำลัง submit form
curl --form "username=seth" --form "password=12345678" \
"https://example.com/api/v4/endpoint"- การส่งคำร้องด้วยการแนบไฟล์: curl -F “file=@{ระบุ path file แบบเต็มในเครื่อง}” {ระบุ host url ปลายทาง}
- `-F` กำหนด local path ของไฟล์ที่จะ upload ใส่ไปใน request
curl -F "file=@/path/to/file.jpg" http://example.com/upload- การส่งคำร้องด้วย basic authentication: curl -u “{username}:{password}” {ระบุ host url ปลายทาง}
- `-u` กำหนด username, password ที่จะถูกคั่นด้วย : (colon)
url -u "username:password" http://example.com- ต้องการแสดง response แบบเต็ม: curl -v {ระบุ host url ปลายทาง}
- `-v` เพิ่มเติมเมื่อต้องการที่จะทราบรายละเอียดอื่น ๆ ใน response ที่ตอบกลับ ตัวอย่างรายะเลียดที่จะแสดง
- HTTP method: GET, POST, PATCH, …
- Host: example.com
- User-Agent: curl/7.85.0
- Accept: */*
- …
- `-v` เพิ่มเติมเมื่อต้องการที่จะทราบรายละเอียดอื่น ๆ ใน response ที่ตอบกลับ ตัวอย่างรายะเลียดที่จะแสดง
curl -v http://example.com* Trying 93.184.216.34:80...
* Trying 2606:2800:220:1:248:1893:25c8:1946:80...
* Immediate connect fail for 2606:2800:220:1:248:1893:25c8:1946: No route to host
* Connected to example.com (93.184.216.34) port 80 (#0)
> GET / HTTP/1.1
> Host: example.com
> User-Agent: curl/7.85.0
> Accept: */*
>
* Mark bundle as not supporting multiuse
< HTTP/1.1 200 OK
< Age: 142166
< Cache-Control: max-age=604800
< Content-Type: text/html; charset=UTF-8
< Date: Wed, 18 Jan 2023 15:41:59 GMT
< Etag: "3147526947+ident"
< Expires: Wed, 25 Jan 2023 15:41:59 GMT
< Last-Modified: Thu, 17 Oct 2019 07:18:26 GMT
< Server: ECS (oxr/831B)
< Vary: Accept-Encoding
< X-Cache: HIT
< Content-Length: 1256
<
- ต้องการที่จะดาวน์โหลดไฟล์: curl -O {ระบุ host url ปลายทาง}
- `–remote-name` กำหนดชื่อไฟล์หลังจากดาวน์โหลดให้เหมือนกับที่ remote (host) ตัวอย่าง curl –remote-name http://example.com/file.zip
curl -O http://example.com/file.zip- ติดตามการ redirect: curl -L {ระบุ host url ปลายทาง}
- `-L` ใส่เพื่อติดตามการ redirect
curl -L http://example.com- ต้องการที่จะให้คืนค่าแต่ header response: curl -I {ระบุ host url ปลายทาง}
- `-I` ใส่เมื่อต้องการที่จะดู header response เท่านั้น จะไม่มีการส่งในส่วนอื่น ๆ ที่นอกเหนือจาก headers กลับมา
curl -I http://example.comHTTP/1.1 200 OK
Content-Encoding: gzip
Accept-Ranges: bytes
Age: 360399
Cache-Control: max-age=604800
Content-Type: text/html; charset=UTF-8
Date: Wed, 18 Jan 2023 15:53:42 GMT
Etag: "3147526947"
Expires: Wed, 25 Jan 2023 15:53:42 GMT
Last-Modified: Thu, 17 Oct 2019 07:18:26 GMT
Server: ECS (oxr/8315)
X-Cache: HIT
Content-Length: 648สรุปท้ายบทความ
cURL เป็นคำสั่งที่ช่วยชีวิตได้ดีในยามทุกข์ยาก คุณอาจจะไม่ต้องอ่านทั้งหมดของบทความนี้ แต่ขอให้คุณเก็บ cURL ไว้ในอ้อมอกอ้อมใจ หากคุณสนใจที่จะเรียนรู้เพิ่มเติมผมมีลิ้งเว็บไซต์ที่น่าสนใจ
- https://opensource.com/sites/default/files/gated-content/curl-cheat-sheet.pdf
- https://curl.se/docs/manual.html
- https://everything.curl.dev/http/cheatsheet
ขอบคุณที่ติดตามครับป๋ม