⚡ ใช้ Terraform หรือ AWS CDK ทำ Infrastructure as Code (IaC)
บทนำ ในยุคที่ระบบ Cloud กลายเป็นหัวใจขอ…
บทนำ ในยุคที่ระบบ Cloud กลายเป็นหัวใจขอ…
บทนำ ในยุคที่ระบบ E-commerce เติบโตอย่า…

บทนำ หากคุณกำลังสร้างระบบ Backend ที่ให…
บทนำ ในโลกของข้อมูลยุคปัจจุบัน ความเร็ว…
บทนำ หนึ่งในงานยอดนิยมบน AWS คือการสร้า…
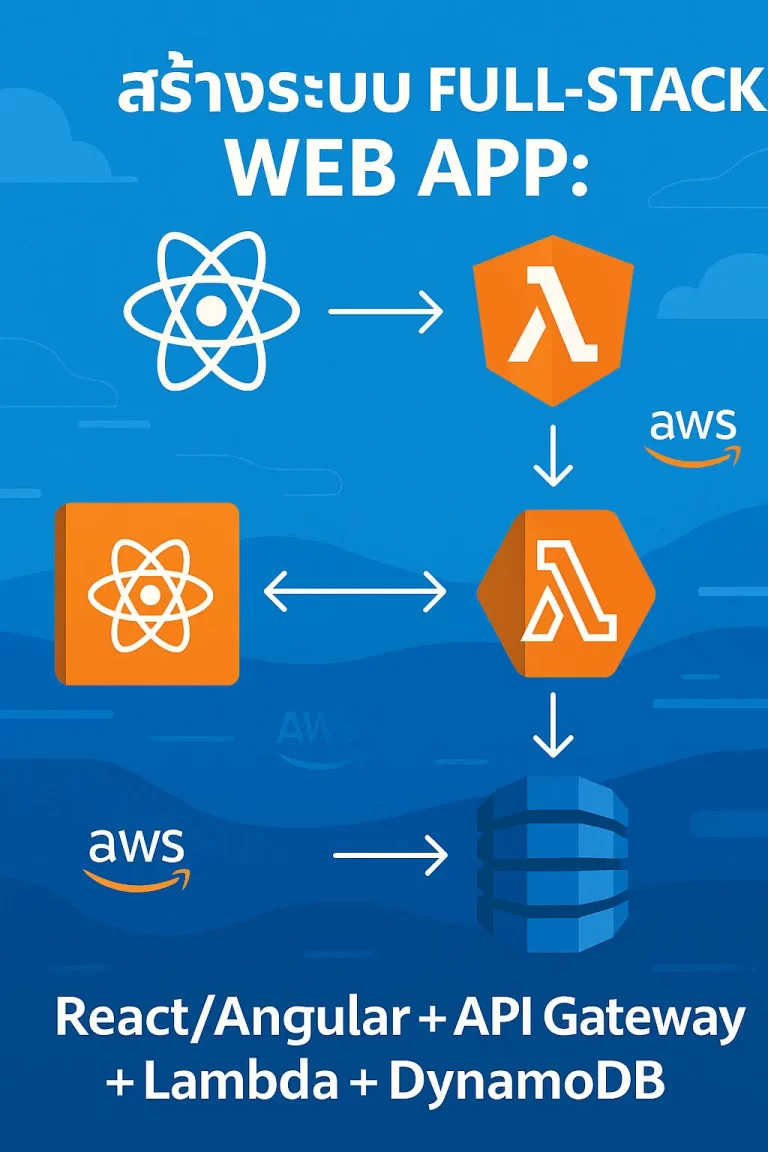
บทนำ ในยุคที่เว็บแอปพลิเคชันต้องรองรับผ…

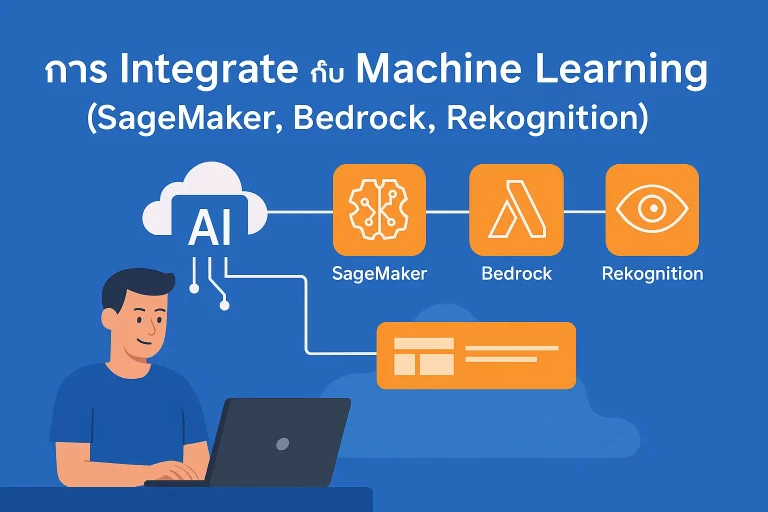
บทนำ การเป็น Developer ในยุค Cloud ไม่ไ…
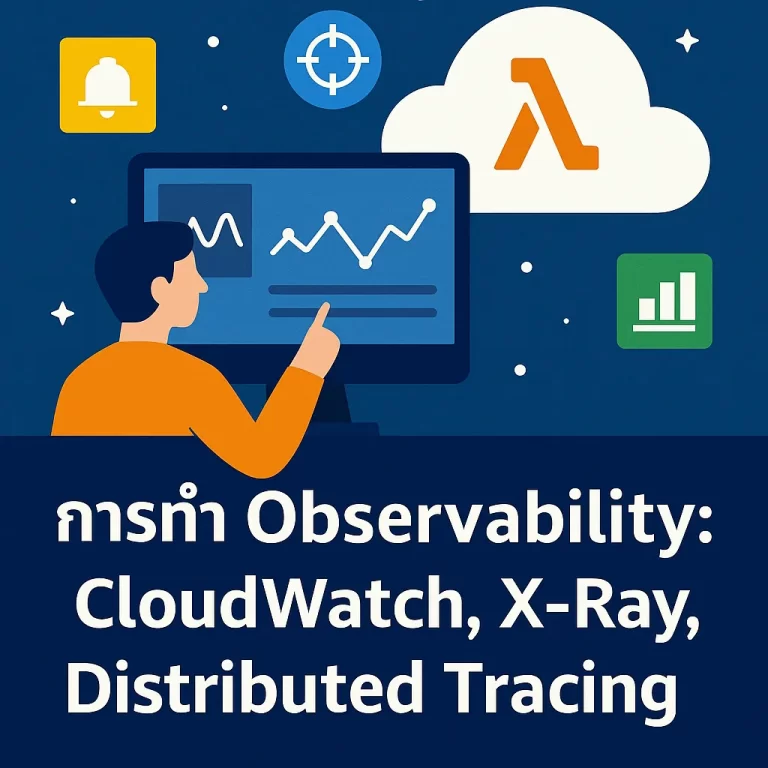
บทนำ โลกของ Developer ในยุค Cloud-nativ…

บทนำ การพัฒนาแอปพลิเคชันบน Cloud ช่วยให…

บทนำ ในยุคของ Cloud-native Application …
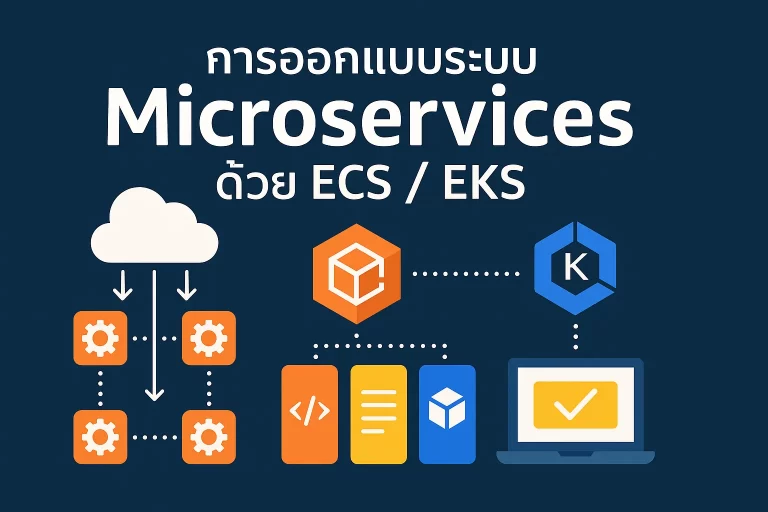
บทนำ ในยุคของ Cloud-native และ Microser…
บทนำ เมื่อระบบขนาดใหญ่ต้องรองรับผู้ใช้จ…
บทนำ AWS Lambda เป็นบริการยอดนิยมของ AW…

บทนำ ในยุคที่ผู้ใช้งานแอปพลิเคชันมีจำนว…

บทนำ ในยุคที่ทีมพัฒนาซอฟต์แวร์ต้องปล่อย…