สารบัญ
- ทำไมต้อง WebFlux + K8s?
- สร้าง Docker Image
- เขียน Deployment + Service
- Liveness / Readiness Probe
- ConfigMap & Secret
- Horizontal Pod Autoscaler
- Monitoring & Log
- Pipeline CI/CD
- Troubleshooting
- Best Practices
- สรุป
1. ทำไมต้อง WebFlux + K8s?
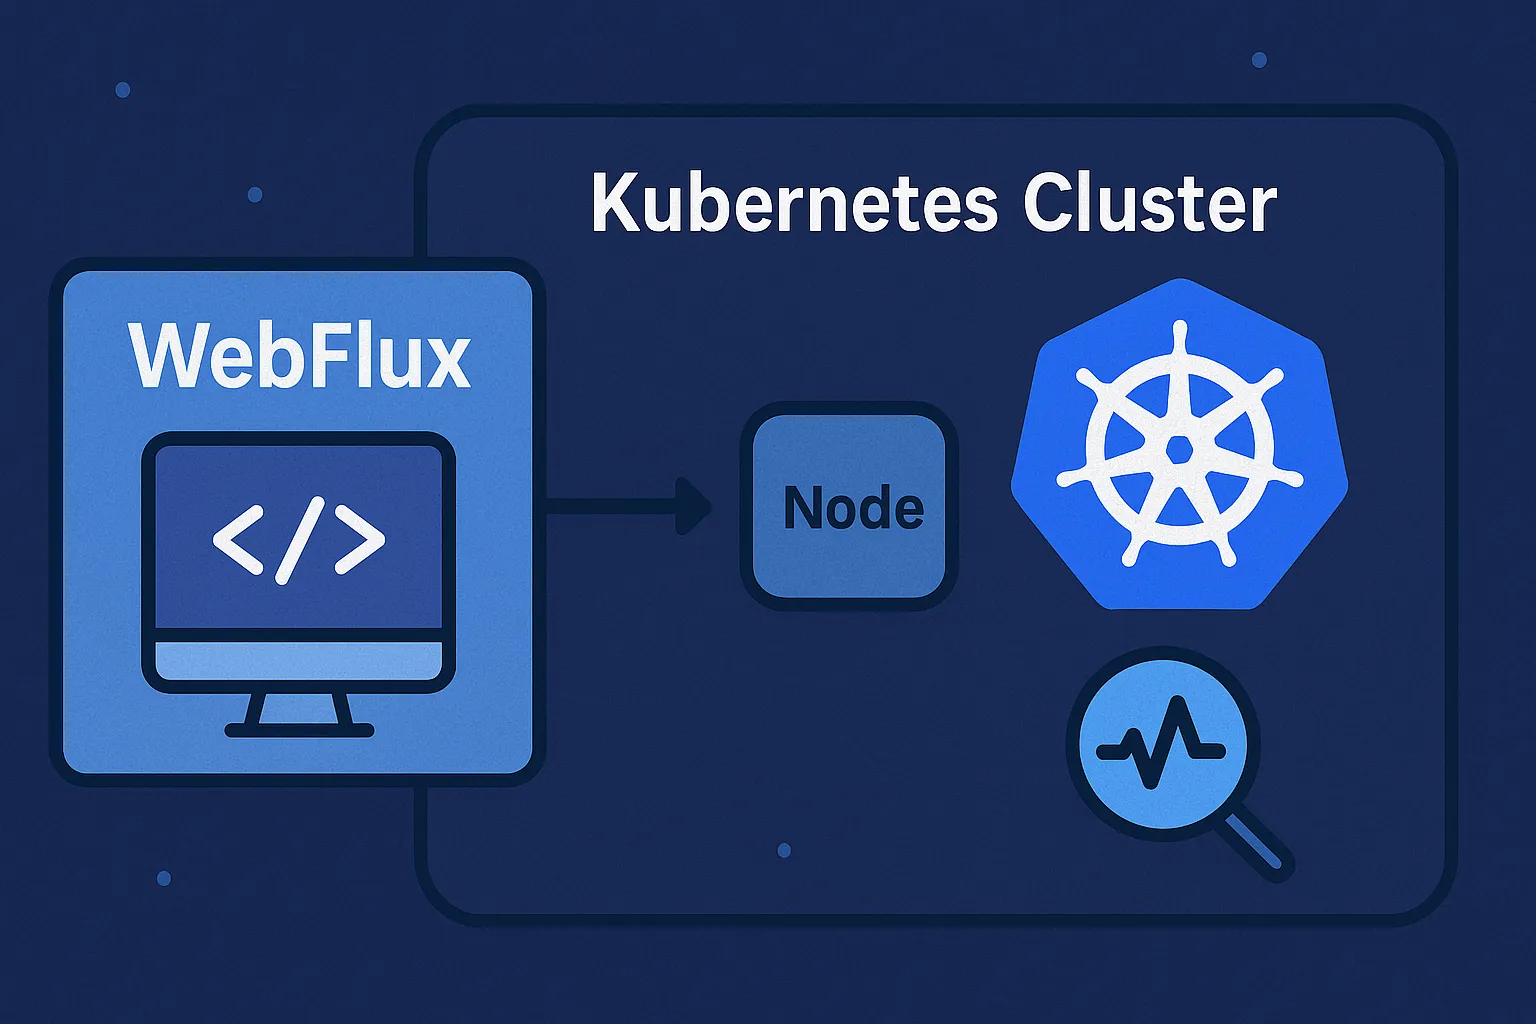
Spring WebFlux เป็น Reactive, Non-Blocking framework เหมาะกับบริการที่ต้องรับ request concurrent สูง เมื่อจับคู่กับ Kubernetes จะได้ scalability อัตโนมัติ, self-healing และ rolling update ในตัว

2. สร้าง Docker Image
# Dockerfile
FROM eclipse-temurin:17-jre-alpine
WORKDIR /app
COPY target/webflux-demo.jar app.jar
ENV JAVA_TOOL_OPTIONS="-XX:+UseContainerSupport -Dfile.encoding=UTF-8"
ENTRYPOINT ["java","-jar","/app/app.jar"]
3. เขียน Deployment + Service
apiVersion: apps/v1
kind: Deployment
metadata:
  name: webflux-demo
spec:
  replicas: 3
  selector:
    matchLabels:
      app: webflux-demo
  template:
    metadata:
      labels:
        app: webflux-demo
    spec:
      containers:
      - name: webflux
        image: ghcr.io/poolsawat/webflux-demo:1.0.0
        ports:
        - containerPort: 8080
        livenessProbe:
          httpGet:
            path: /actuator/health/liveness
            port: 8080
          initialDelaySeconds: 10
          periodSeconds: 15
        readinessProbe:
          httpGet:
            path: /actuator/health/readiness
            port: 8080
          initialDelaySeconds: 5
          periodSeconds: 5
---
apiVersion: v1
kind: Service
metadata:
  name: webflux-demo
spec:
  selector:
    app: webflux-demo
  ports:
  - port: 80
    targetPort: 8080
    protocol: TCP
  type: ClusterIP
4. Liveness / Readiness Probe
/actuator/health/liveness บอก K8s ว่า JVM ยังหายใจอยู่ /readiness บอกว่าพร้อมรับทราฟฟิก (db, kafka, cache connect แล้ว)
// build.gradle
implementation("org.springframework.boot:spring-boot-starter-actuator")

// application.yml
management:
  endpoint:
    health:
      probes:
        enabled: true
  endpoints:
    web:
      exposure:
        include: health,info
5. ConfigMap & Secret
apiVersion: v1
kind: ConfigMap
metadata:
  name: webflux-config
data:
  SPRING_PROFILES_ACTIVE: prod
---
apiVersion: v1
kind: Secret
metadata:
  name: db-secret
type: Opaque
stringData:
  DB_PASSWORD: s3cr3t
Mount ผ่าน envFrom: เพื่อแยก config ออกจาก image
6. Horizontal Pod Autoscaler
apiVersion: autoscaling/v2
kind: HorizontalPodAutoscaler
metadata:
  name: webflux-hpa
spec:
  scaleTargetRef:
    apiVersion: apps/v1
    kind: Deployment
    name: webflux-demo
  minReplicas: 3
  maxReplicas: 20
  metrics:
  - type: Resource
    resource:
      name: cpu
      target:
        type: Utilization
        averageUtilization: 65
7. Monitoring & Log
- Prometheus + Grafana ดึง
/actuator/prometheus - Loki + Promtail aggregate JSON log จาก stdout
- ใช้ liveness/readiness graph เพื่อจับ issue ก่อน downtime
8. Pipeline CI/CD
# .github/workflows/deploy.yml
- name: Build & Push
  run: |
    mvn -B package
    docker build -t ghcr.io/poolsawat/webflux-demo:${{ github.sha }} .
    docker push ghcr.io/poolsawat/webflux-demo:${{ github.sha }}
- name: Deploy
  run: |
    kubectl set image deployment/webflux-demo webflux=ghcr.io/poolsawat/webflux-demo:${{ github.sha }}
9. Troubleshooting
kubectl describe pod→ ตรวจ probe fail historykubectl exec -it pod -- curl localhost:8080/actuator/health- ตรวจ log
kubectl logs -f podดู StackTrace
10. Best Practices
- ตั้ง resource limits (CPU/Memory) ให้ทุก container
- ใช้ readiness แยกจาก liveness เสมอ
- เปิด
gracefulShutdownใน Spring Bootserver.shutdown=graceful - ใช้
preStophook รอ connection drain ก่อน kill
11. สรุป
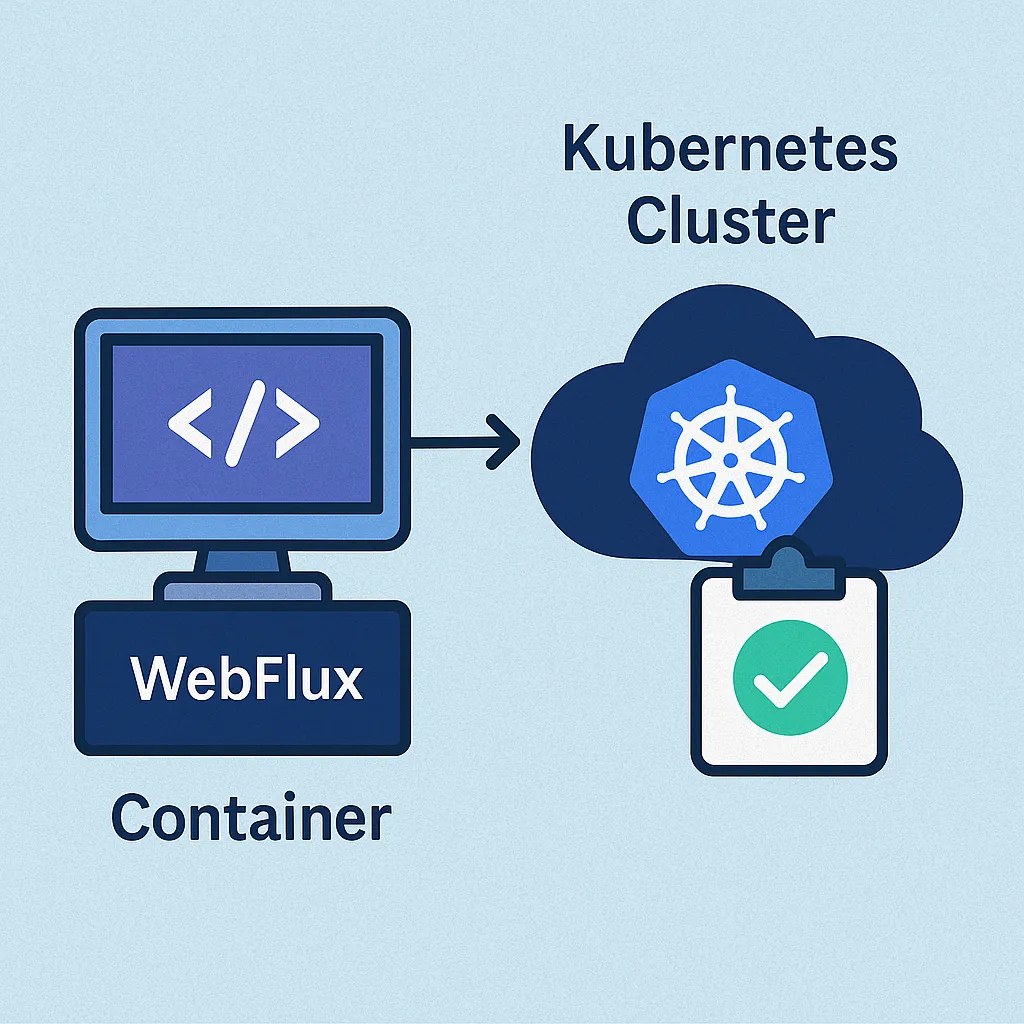
คุณสามารถนำ WebFlux ขึ้น Kubernetes ได้อย่างมั่นใจเพียงสร้าง Docker Image, เขียน Deployment, ใส่ Healthcheck และเปิด HPA. ผลลัพธ์คือระบบพร้อมขยายอัตโนมัติ, สังเกตง่าย, และฟื้นตัวได้เองเมื่อเกิดปัญหา 🚀
© 2025 poolsawat.com • ฝากกดแชร์หากบทความนี้เป็นประโยชน์ 👍