ในการพัฒนาแอปพลิเคชันด้วย Spring WebFlux โครงสร้างโปรเจกต์ที่ดีจะช่วยให้โค้ดของเรามีระเบียบ ดูแลรักษาง่าย และสามารถขยายระบบได้ในระยะยาว บทความนี้จะพาคุณทำความเข้าใจโครงสร้างพื้นฐานของโปรเจกต์ WebFlux ที่นิยมใช้ พร้อมตัวอย่างโค้ดในแต่ละชั้น (layer)
ภาพหน้าปกบทความ
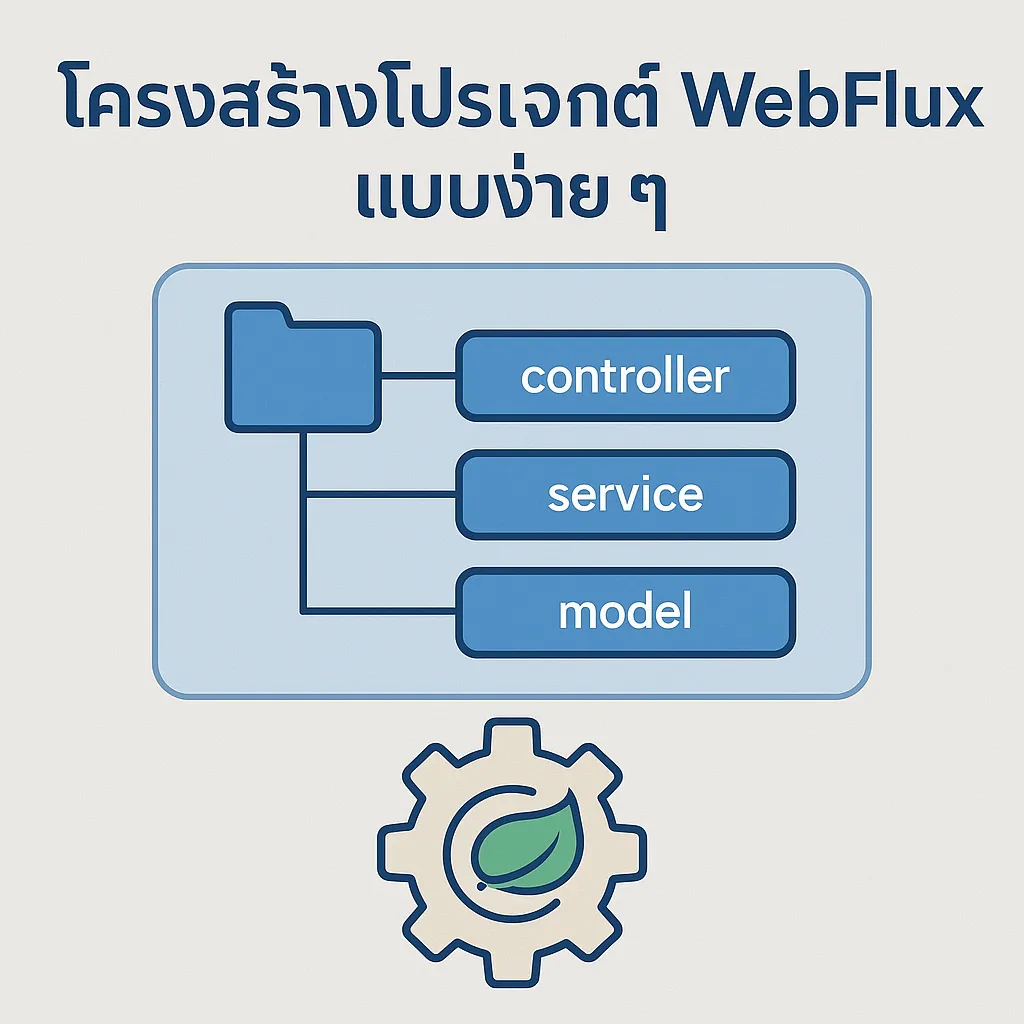
โครงสร้างโปรเจกต์พื้นฐาน
src/
├── main/
│   ├── java/
│   │   └── com/example/demo/
│   │       ├── controller/
│   │       │   └── UserController.java
│   │       ├── service/
│   │       │   └── UserService.java
│   │       ├── model/
│   │       │   └── User.java
│   │       └── DemoApplication.java
│   └── resources/
│       └── application.properties
1. ชั้น Controller
จัดการ request จาก client และส่งให้ service
@RestController
@RequestMapping("/users")
public class UserController {

  private final UserService userService;

  public UserController(UserService userService) {
    this.userService = userService;
  }

  @GetMapping("/{id}")
  public Mono<User> getUser(@PathVariable String id) {
    return userService.findById(id);
  }

  @GetMapping
  public Flux<User> getAllUsers() {
    return userService.findAll();
  }
}
2. ชั้น Service
ประมวลผล logic ธุรกิจและเรียกใช้งาน repository หรือ mock data
@Service
public class UserService {

  private final Map<String, User> mockDb = Map.of(
    "1", new User("1", "Alice"),
    "2", new User("2", "Bob")
  );

  public Mono<User> findById(String id) {
    return Mono.justOrEmpty(mockDb.get(id));
  }

  public Flux<User> findAll() {
    return Flux.fromIterable(mockDb.values());
  }
}
3. ชั้น Model
เก็บข้อมูลในรูปแบบ Object
public class User {
  private String id;
  private String name;

  // Constructor
  public User(String id, String name) {
    this.id = id;
    this.name = name;
  }

  // Getter & Setter
  public String getId() { return id; }
  public void setId(String id) { this.id = id; }

  public String getName() { return name; }
  public void setName(String name) { this.name = name; }
}
4. Application Entry Point
@SpringBootApplication
public class DemoApplication {
  public static void main(String[] args) {
    SpringApplication.run(DemoApplication.class, args);
  }
}
5. Configuration – application.properties
server.port=8080
spring.main.web-application-type=reactive
Tips: Best Practices
- แยกแต่ละ layer ให้ชัดเจน (controller, service, model)
- ใช้ Mono กับข้อมูล 1 ชิ้น และ Flux กับข้อมูลหลายชิ้น
- หลีกเลี่ยงการ block() ใน reactive stream
- จัดเก็บ constant, config, และ error handler แยกไฟล์
การทดสอบ API
curl http://localhost:8080/users
curl http://localhost:8080/users/1
สรุป
WebFlux เป็นเครื่องมือที่ทรงพลังสำหรับการสร้าง REST API ที่รองรับ concurrent สูงได้ดี ด้วยโครงสร้างโปรเจกต์ที่ชัดเจนตามแบบ MVC (Controller-Service-Model) จะช่วยให้ทีมพัฒนาเข้าใจและต่อยอดระบบได้ง่ายขึ้น