
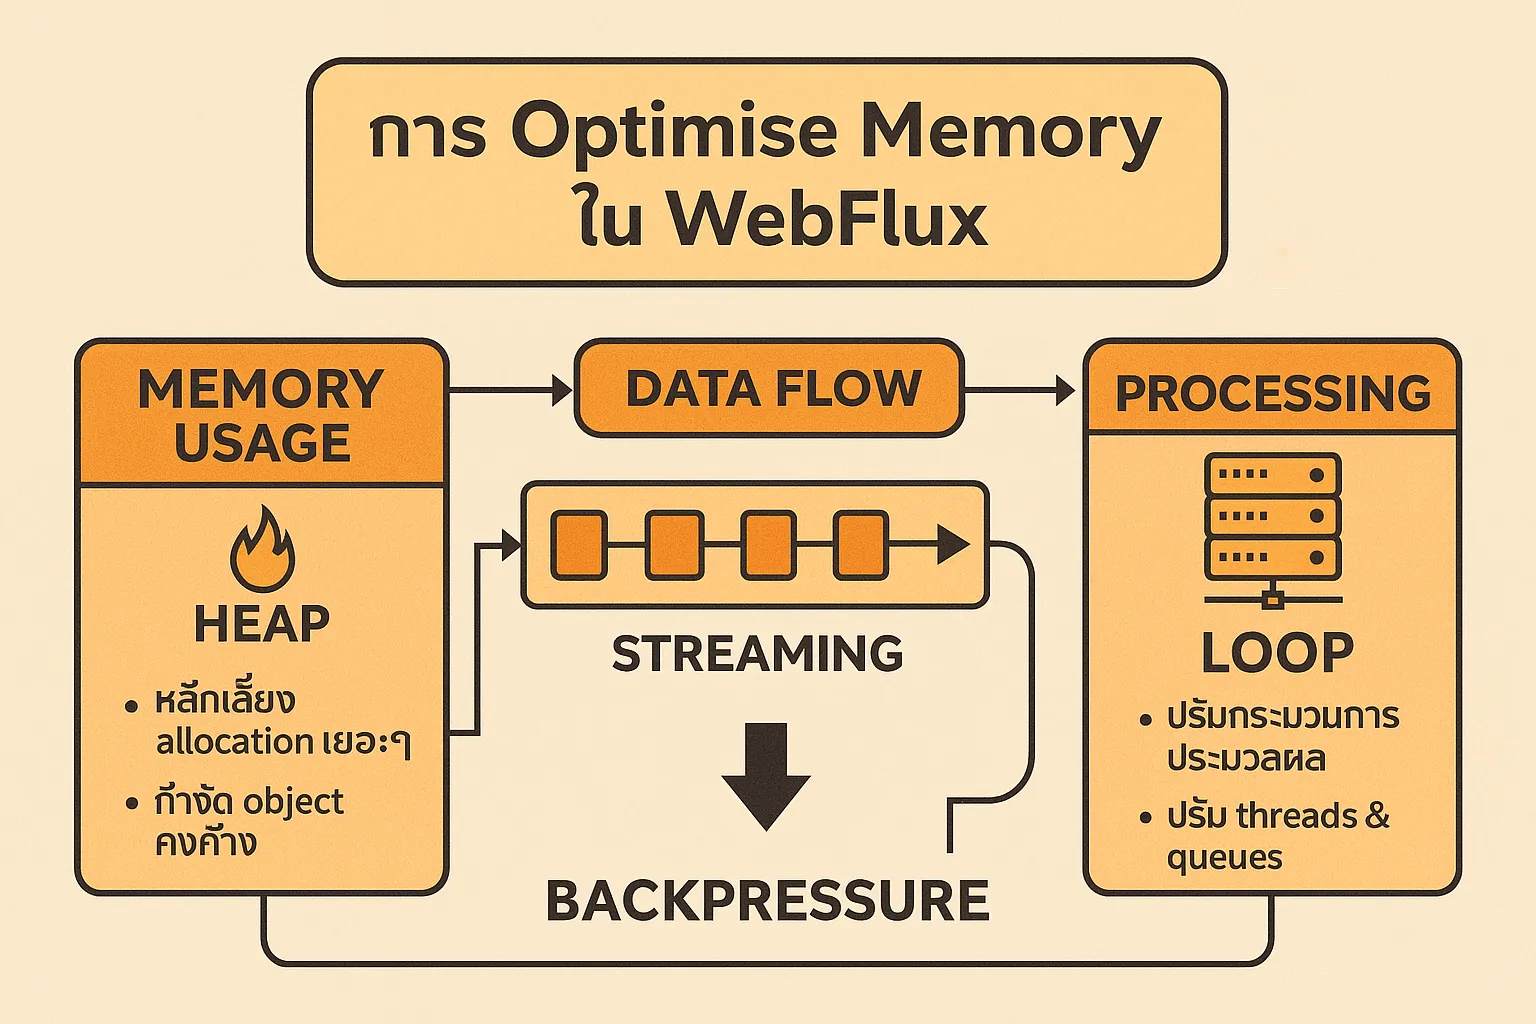
การ Optimise Memory และ Performance ใน WebFlux
เวลาอ่าน ≈ 20 นาที — คู่มือฉบับเต็มสำหรับนักพัฒนาที่ต้องการรีดศักยภาพ Spring WebFlux/Project Reactor ให้ รวดเร็ว และ กินหน่วยความจำน้อย ที่สุด ตั้งแต่ Netty Event-Loop, GC Tuning, Backpressure Strategy, ไปจนถึง Observability Dashboard
สารบัญ
- ทำไมต้องจูน WebFlux?
- ลด Heap & Zero-Copy Buffer
- หลีกเลี่ยง Blocking I/O
- Backpressure อย่างถูกวิธี
- GC Tuning สำหรับโหลดสูง
- ปรับ Netty Thread Model
- Serialization ที่เบาและเร็ว
- Observability & Dashboard
- Checklist ก่อน Production
- Demo ครบวงจร
1. ทำไมต้องจูน WebFlux?
- WebFlux รันบน event-loop แค่ไม่กี่ Thread — การบล็อกเพียง 1 จุดกระทบทั้งระบบ
- Reactive Pipeline สร้าง object จำนวนมาก ถ้าไม่จัดการจะเกิด
GC pause - โหลดสูง+ไฟล์ใหญ่ เช่น SSE หรือ Streaming ไม่ดูแล Backpressure = OOM ง่าย
2. ลด Heap & Zero-Copy Buffer
2.1 เปิด Direct Buffer
@Bean
public NettyReactiveWebServerFactory nettyFactory() {
    NettyReactiveWebServerFactory f = new NettyReactiveWebServerFactory();
    f.addServerCustomizers(
        httpServer -> httpServer.metrics(true)
                                .compress(true)
                                .wiretap(false)
                                .runOn(LoopResources.create("wrk", 4, 8, true)));
    // เปิด Pooled ByteBuf allocator
    System.setProperty("io.netty.allocator.numDirectArenas","8");
    return f;
}
2.2 ใช้ DataBufferUtils เพื่อ Zero-Copy
@GetMapping("/file")
public Mono<Void> streamFile(ServerHttpResponse resp) {
    Path big = Paths.get("/videos/big.mp4");
    resp.getHeaders().set(HttpHeaders.CONTENT_TYPE, "video/mp4");
    return resp.writeWith(DataBufferUtils.read(big,
            new DefaultDataBufferFactory(true), 4096))
               .doOnTerminate(() -> DataBufferUtils.release(
                        DataBufferUtils.read(big,
                                new DefaultDataBufferFactory(true), 1)));
}
3. หลีกเลี่ยง Blocking I/O
WebFlux ใช้ Reactor Scheduler หลักคือ parallel() & event-loop. หากต้องทำ JDBC หรือ SDK ปกติ ให้โยนไป boundedElastic()
Mono.fromCallable(() -> jdbcTemplate.queryForList("SELECT * FROM big_tbl"))
    .subscribeOn(Schedulers.boundedElastic()) // ไม่ขวาง event-loop
    .timeout(Duration.ofSeconds(5))
    .onErrorResume(TimeoutException.class, ex -> Mono.empty());
4. Backpressure อย่างถูกวิธี
- ใช้
limitRateหรือonBackpressureBufferต้นทาง - ตั้งขนาด Buffer ให้อยู่ใต้ JVM Heap 50%
Flux<byte[]> stream = kafkaReceiver.receive()
    .map(ReceiverRecord::value)
    .limitRate(1024)               // ส่งชุดละ 1024
    .onBackpressureBuffer(4096);   // เก็บไม่เกิน 4k message
5. GC Tuning สำหรับโหลดสูง
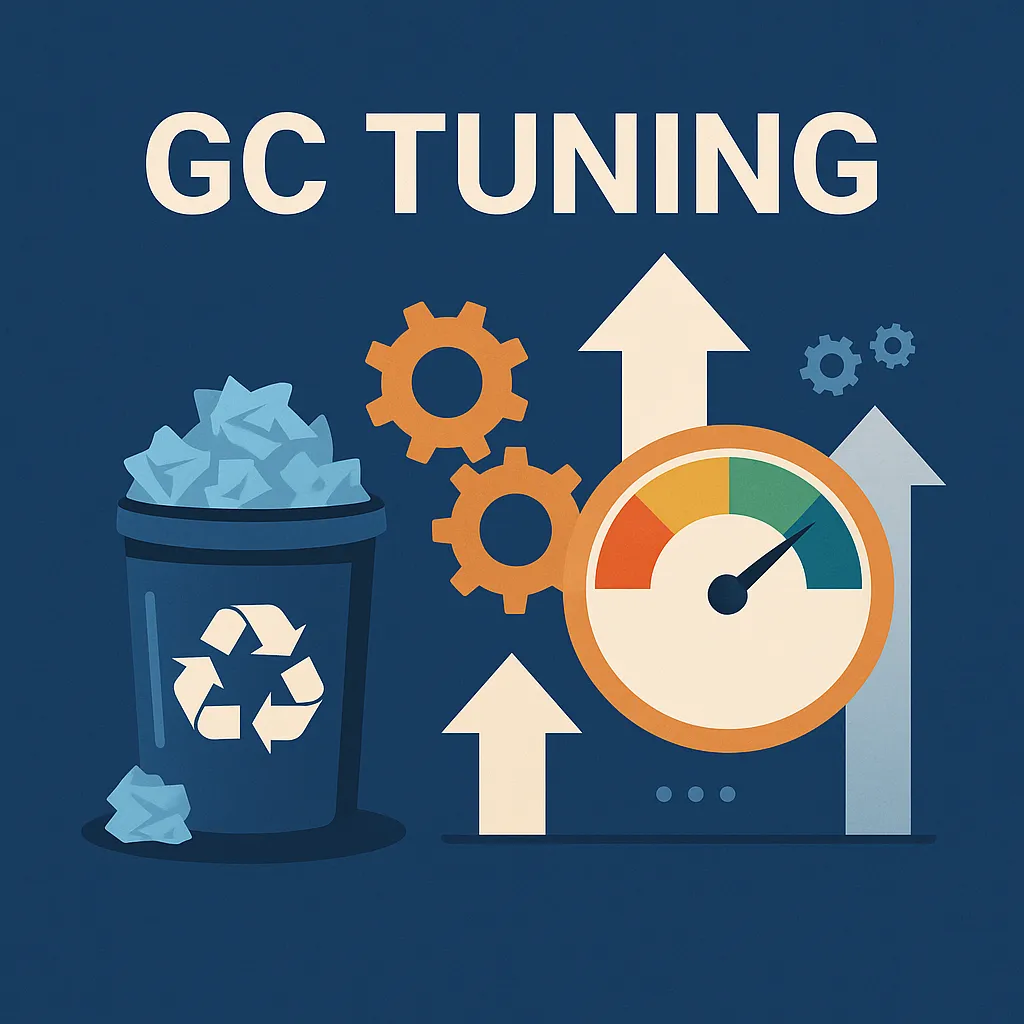
5.1 ZGC หรือ G1GC?
| GC | Latency (ms) | เหมาะกับ |
|---|---|---|
| ZGC | <1 ms | Low-latency API, JDK 17+ |
| G1GC | 10-200 ms | โหลดผสม, Heap ≤ 16 GB |
5.2 ตัวอย่างตัวเลือก JVM
-XX:+UseZGC
-XX:ZCollectionInterval=20
-XX:ZAllocationSpikeTolerance=5
-XX:+ZGenerational
6. ปรับ Netty Thread Model
ค่าเริ่มต้น = CPU logical cores × 2. ถ้ามี I/O หนัก แต่ CPU เบา ลดเหลือ cores เดียว
reactor.netty.ioWorkerCount=8
reactor.netty.pool.maxConnections=2000
reactor.netty.pool.leasingStrategy=lifo
7. Serialization ที่เบาและเร็ว
- สำหรับ JSON ใช้ Jackson Afterburner + Blackbird
- เปิด
@JsonInclude(JsonInclude.Include.NON_NULL)ลด field - Binary Protocol → Protobuf หรือ CBOR แทน JSON ใน Streaming
@Bean
public ObjectMapper objectMapper() {
    return JsonMapper.builder()
            .addModule(new AfterburnerModule())
            .configure(SerializationFeature.WRITE_DATES_AS_TIMESTAMPS,false)
            .build();
}
8. Observability & Dashboard
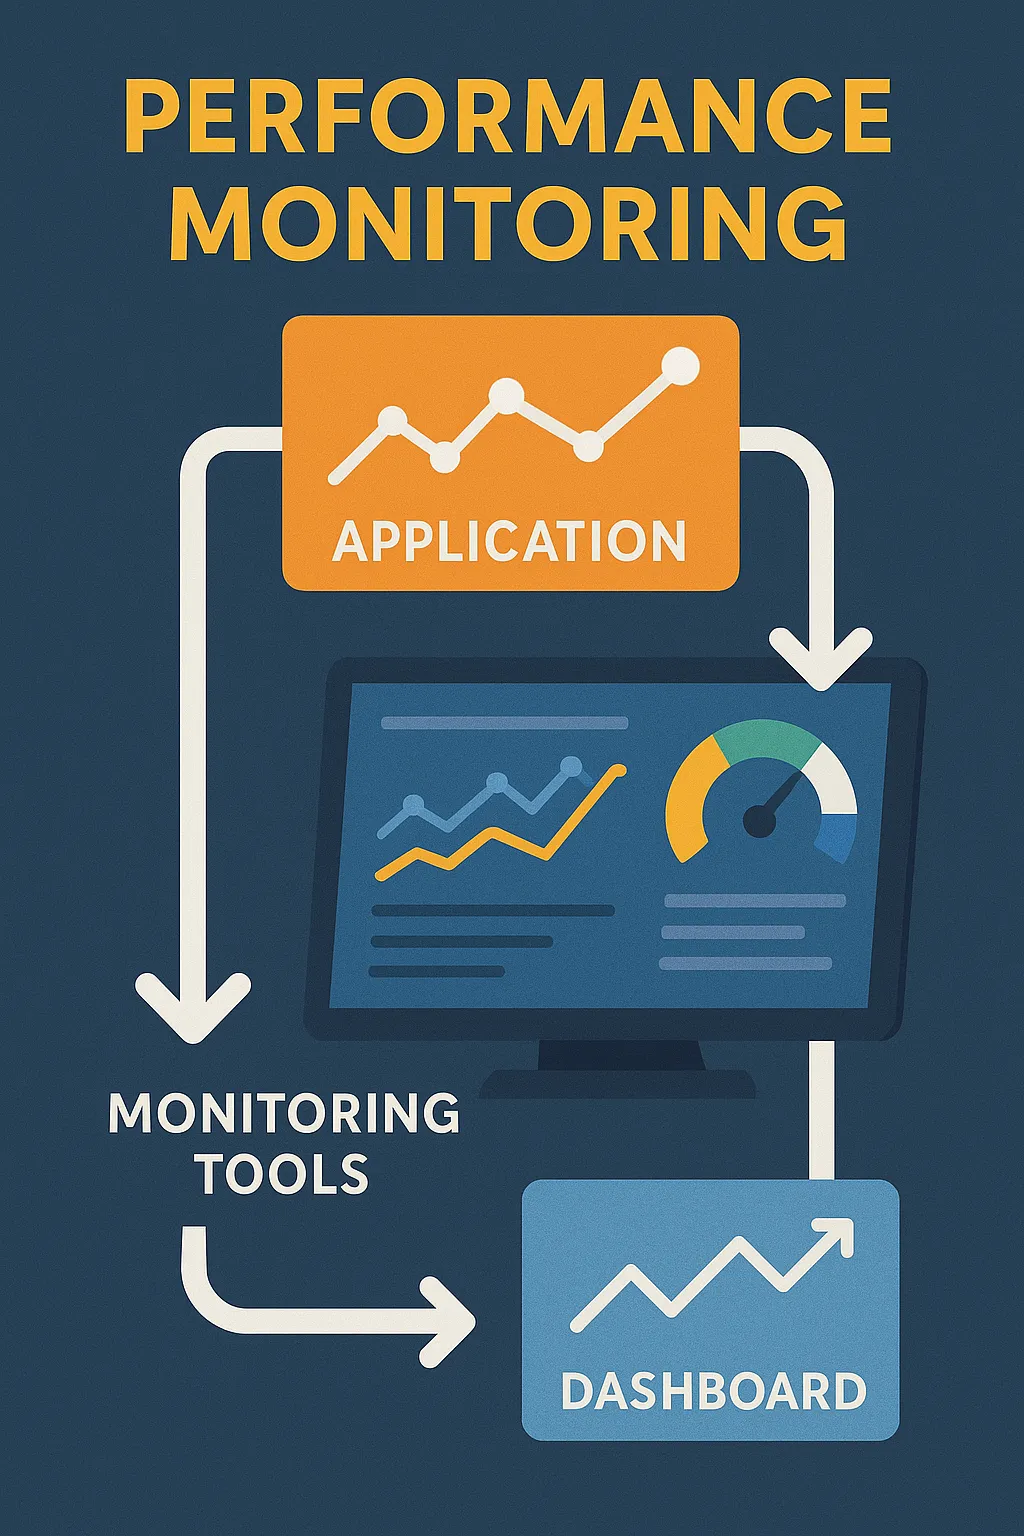
management:
  metrics:
    enable:
      reactor: true
  endpoints:
    web:
      exposure:
        include: prometheus
รวมกับ Grafana, Loki, Prometheus จะได้กราฟ reactor.netty.http.server.connections, jvm.memory.used, และ P99 latency
9. Checklist ก่อน Production
- ผ่าน Load Test ≥ 2× peak traffic
- GC Pause < 100 ms ที่ P99
- Heap Utilization < 70%
- Thread Blocking < 1 ต่อวินาที (BlockHound)
- Backpressure ไม่สูญเสีย message (ตรวจ Drop metrics)
10. Demo ครบวงจร
# 1) เปิด Docker compose WebFlux + Grafana + Prometheus
docker compose up -d

# 2) ยิง Load 10k rps 5 นาที
wrk -t8 -c1024 -d5m http://localhost:8080/stream

# 3) เปิด Grafana dashboard 9410
open http://localhost:3000/d/webflux_perf
สังเกตกราฟ Heap กับ Latency ลดลงเมื่อเปิด ZGC + limitRate(1024)
สรุป
การ Optimise WebFlux ต้องมองทั้ง 3 มิติ: Memory, Concurrency, และ Observability. เริ่มจากลด allocation (Zero-Copy), ขยาย event-loop อย่างเหมาะสม, เปิด Backpressure, เลือก GC ที่ latency ต่ำ และเก็บ Metric อย่างต่อเนื่อง. เมื่อทำครบชุดนี้ แอปพลิเคชันของคุณจะพร้อมรองรับโหลดหลักแสน RPS ด้วย RAM เท่าเดิม!