ภาพหน้าปก: Scheduler & Thread Context Landscape
การใช้ Scheduler และ Thread Context ใน WebFlux
เวลาอ่าน ≈ 20 นาที — บทความนี้ลงลึกทุกแง่มุมของการจัดการ Thread-Switching, Scheduler และ Context Propagation ในโลก Spring WebFlux / Project Reactor. ครอบคลุม best-practice, pitfalls และตัวอย่างโค้ดพร้อมใช้ รวมทั้งภาพประกอบเข้าใจง่าย
สารบัญ
- ทำไม Scheduler สำคัญ?
- Event-loop พื้นฐานของ WebFlux
- Scheduler ชนิดต่าง ๆ
- subscribeOn vs publishOn
- Thread Context & Reactor Context
- MDC, SecurityContext, Tracing
- Performance Tuning Checklist
- การทดสอบ Scheduler & Context
- Demo ครบวงจร
1. ทำไม Scheduler สำคัญ?
Reactor ดำเนินงานทุกอย่างแบบ non-blocking โดยอาศัย Scheduler เพื่อขับเคลื่อน Subscriber. หากเลือก Scheduler ไม่เหมาะสมจะเกิดปัญหา “Starvation” หรือ “Blocking the event-loop” นำไปสู่ Latency พุ่งสูงและ Throughput ลดฮวบ
2. Event-loop พื้นฐานของ WebFlux
- Spring Boot 3.5 ใช้
reactor.netty.http.server.HttpServerบน Netty - Netty สร้าง
NioEventLoopGroup(ค่าเริ่มต้น = CPU logical cores × 2) - ถ้าไม่ระบุ Scheduler Reactor จะใช้ “event-loop” นี้ทันที
// ไม่กำหนด Scheduler → ดำเนินงานใน Netty event-loop
@GetMapping("/quick")
public Mono<String> quick() {
    return Mono.just("OK")
               .doOnNext(v -> log.info("thread=" + Thread.currentThread()));
}
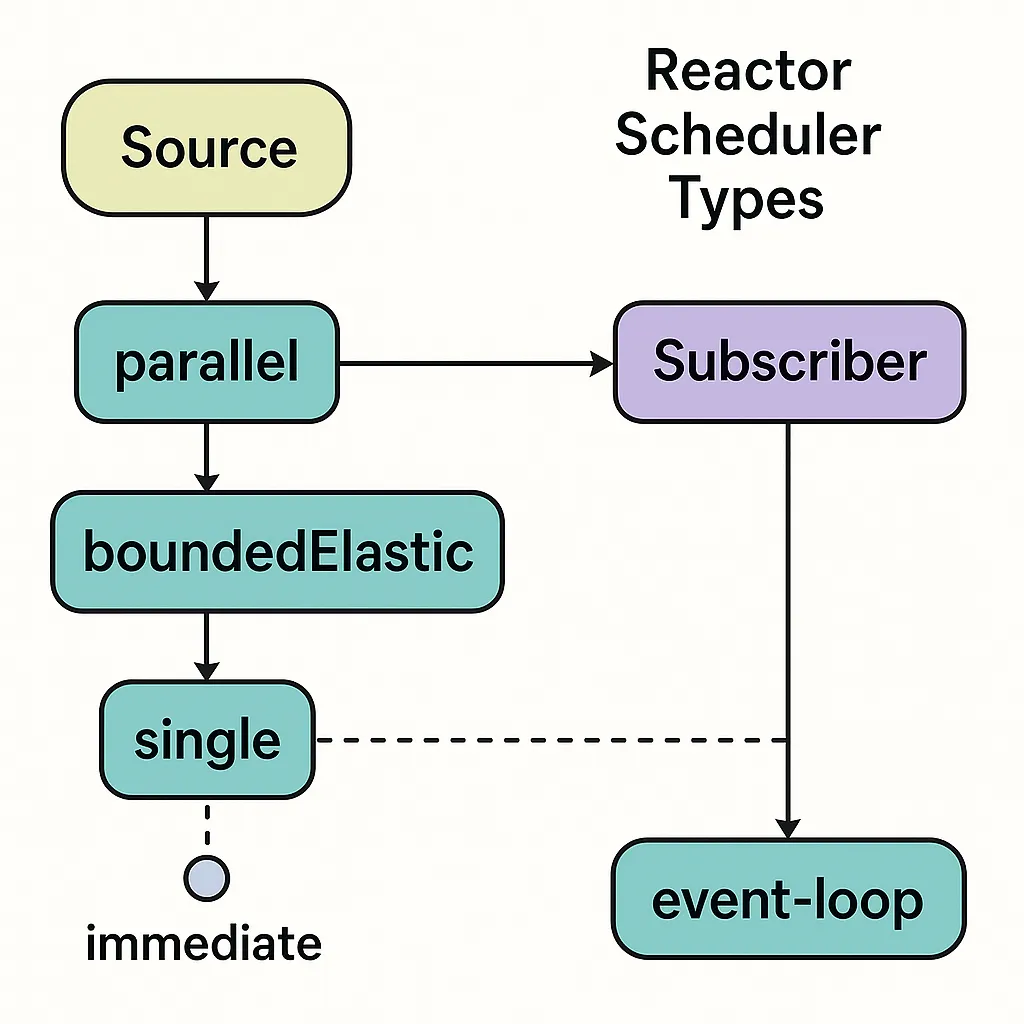
3. Scheduler ชนิดต่าง ๆ
| Scheduler | เหมาะกับ | ข้อดี | ข้อควรระวัง |
|---|---|---|---|
| parallel() | คำนวณ CPU-bound | ใช้ ForkJoinPool เล็ก = #CPU | ห้าม block |
| boundedElastic() | Blocking I/O (JDBC, S3, SOAP) | ขยาย pool สูงสุด (ค่า def = CPU × 10) | เสี่ยง OOM ถ้า block นานเกินควร |
| single() | ดำเนินงานลำดับเดียว | Debug ง่ายมาก | คอขวดถ้างานเยอะ |
| immediate() | Internal Fusion | ไม่ switch thread | ใช้เฉพาะ optimization ภายใน |
4. subscribeOn vs publishOn
subscribeOn กำหนด Scheduler ต้นทาง ของ Pipeline; ส่วน publishOn เปลี่ยน Scheduler นับจากตำแหน่งเรียกเป็นต้นไป
Mono<String> result =
    Mono.fromCallable(this::ioBlocking)
        .subscribeOn(Schedulers.boundedElastic()) // เริ่มบน elastic
        .map(this::cpuHeavy)
        .publishOn(Schedulers.parallel())         // เปลี่ยนไป parallel
        .block();
5. Thread Context & Reactor Context
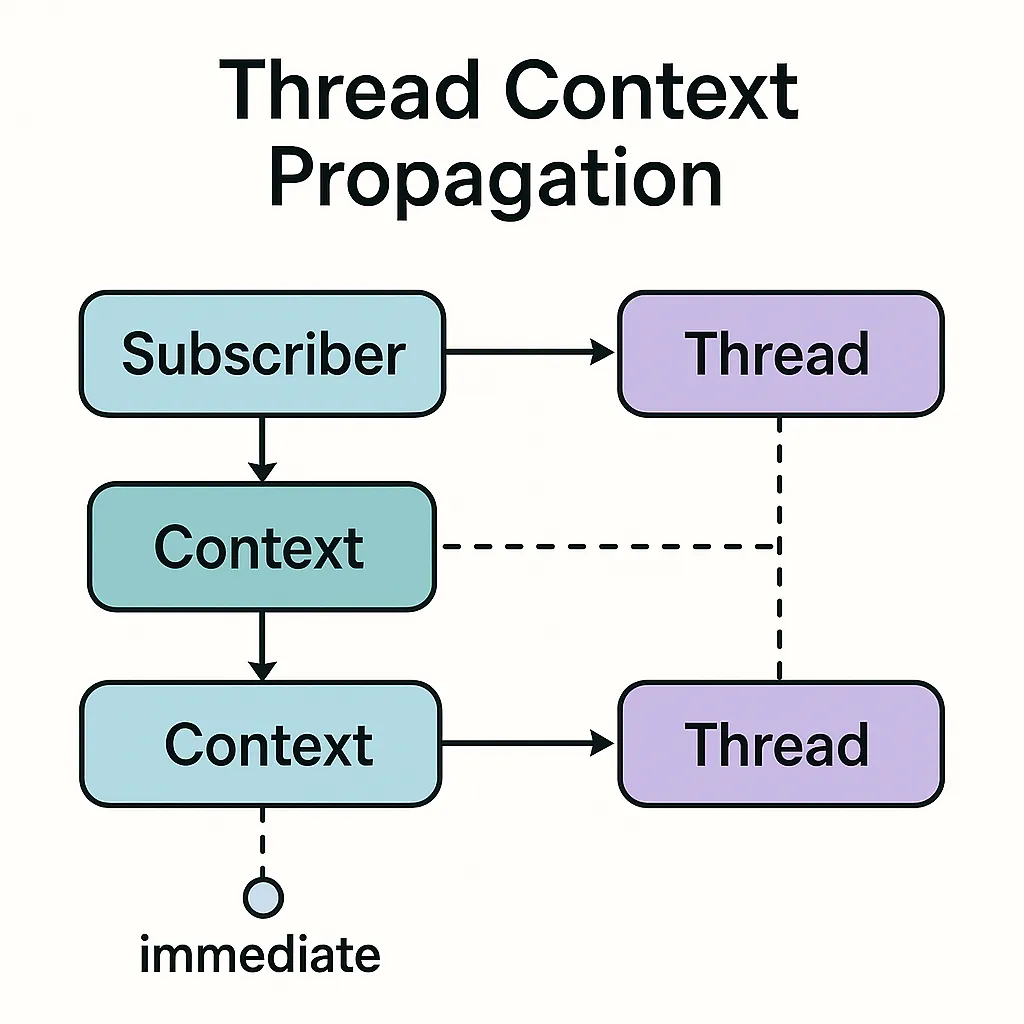
Reactor มี Context เป็น Map-like Immutable data structure ผูกกับ Signal แทนที่จะอาศัย ThreadLocal. ดังนั้น Context จะเคลื่อนย้ายพร้อม Signal ไปทุก Thread
@GetMapping("/context")
public Mono<String> ctx() {
    return Mono.deferContextual(ctx -> {
               String reqId = ctx.get("REQ_ID");
               return Mono.just("reqId=" + reqId);
           })
           .contextWrite(Context.of("REQ_ID", UUID.randomUUID().toString()));
}
6. MDC, SecurityContext, Tracing
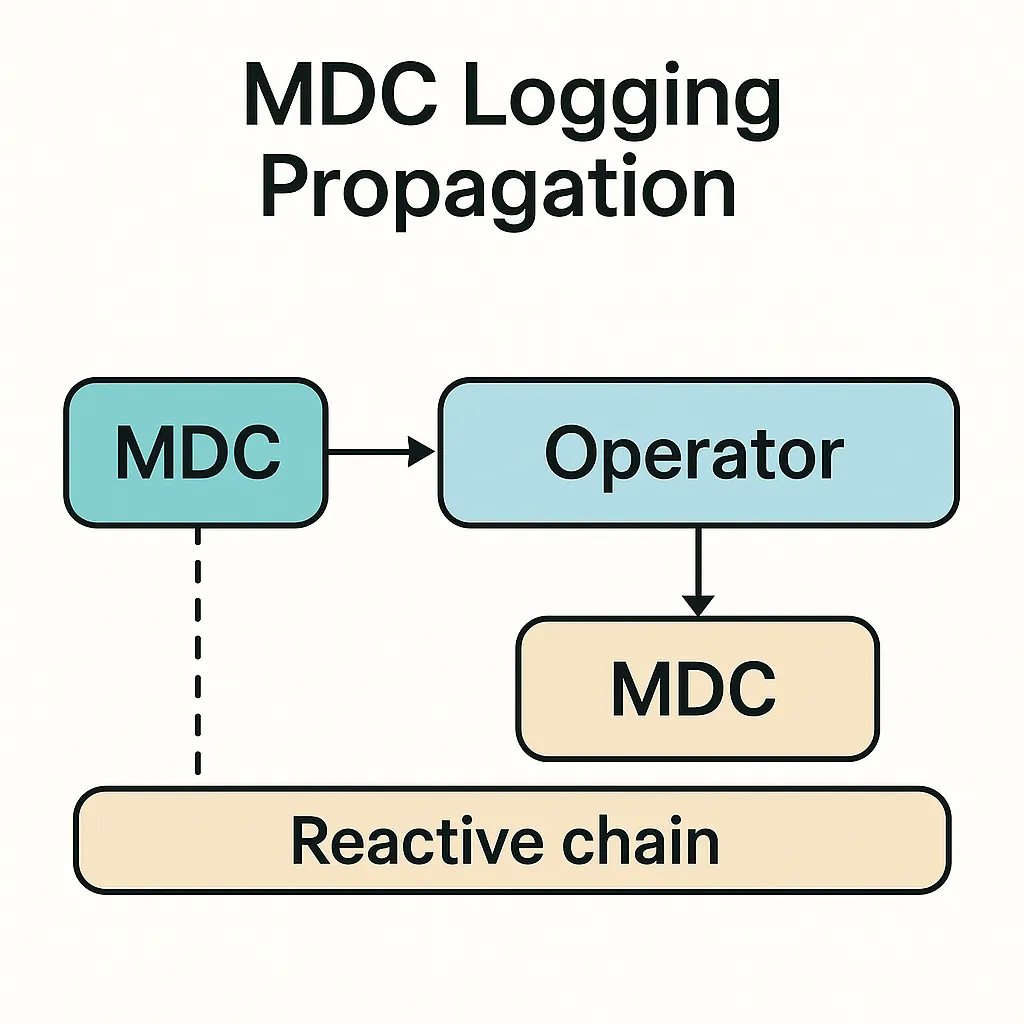
SLF4J MDC ใช้ ThreadLocal จึงไม่ปลอดภัยใน Reactive. แนวทาง:
- ใช้ไลบรารี
reactor-toolsหรือlogstash-logback-encoder+ Hooks - สำหรับ Spring Security ใช้
ReactiveSecurityContextHolder - โอเพนเทเลเมตรี (OTel) ใช้ Context โดยตรง → ไม่ต้อง patch
7. Performance Tuning Checklist
- อย่า block event-loop; ส่งไป
boundedElastic - จำกัด pool ด้วย
SYSTEM_PROPERTY reactor.schedulers.defaultBoundedElasticSize - ใช้
parallel()เฉพาะ CPU heavy - เปิด
BlockHound.install()ใน Dev เพื่อจับ block call - ใช้
Hooks.onOperatorDebug()เฉพาะตอน Debug (ช้า)
8. การทดสอบ Scheduler & Context
@Test
void context_should_flow_between_threads() {
    StepVerifier.withVirtualTime(() ->
        Mono.deferContextual(ctx -> Mono.just(ctx.get("K")))
            .subscribeOn(Schedulers.boundedElastic())
            .contextWrite(Context.of("K", "V")))
        .expectNext("V")
        .verifyComplete();
}
ข้อควรจำ: ใช้ VirtualTimeScheduler สำหรับ delayElements หรือ time-based operator
9. Demo ครบวงจร: File Upload → Virus Scan
// 1) รับไฟล์ → 2) เขียน S3 (I/O) → 3) เรียก VirusScan (CPU) → 4) ตอบผล
@PostMapping("/upload")
public Mono<ResponseDto> upload(FilePart part) {
    return part.transferTo(tmpDir.resolve(part.filename()))
        .publishOn(Schedulers.boundedElastic())      // I/O write
        .flatMap(this::uploadToS3)
        .publishOn(Schedulers.parallel())            // CPU heavy scan
        .flatMap(this::virusScan)
        .map(result -> new ResponseDto(result))
        .contextWrite(Context.of("file", part.filename()));
}
Pipeline นี้แสดงการสลับ Scheduler สองครั้งพร้อมส่ง Context (ชื่อไฟล์) ติดไปด้วย
สรุป
การเข้าใจ Scheduler และ Thread Context คือหัวใจของการสร้าง WebFlux ที่ เร็ว, ปลอดภัย, และ ดูแลง่าย. เลือก Scheduler ให้ตรงงาน, ส่ง Context ด้วย Reactor Context แทน ThreadLocal, และตรวจสอบด้วย BlockHound คือ 3 กุญแจสำคัญสู่ Production-grade Reactive Service.