Transactions & ACID และการใช้ BEGIN, COMMIT, ROLLBACK
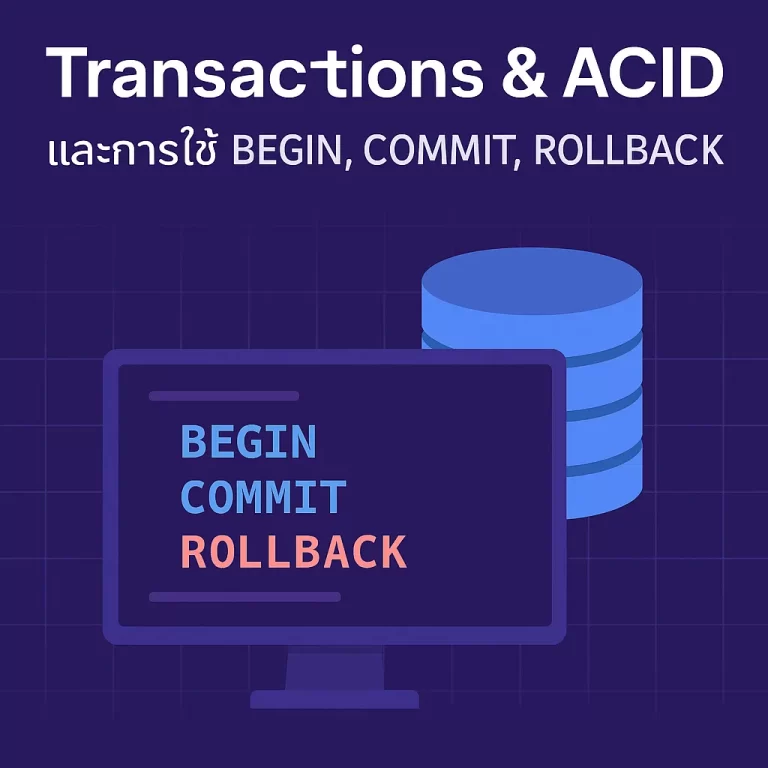
ในการทำงานกับฐานข้อมูล คำว่า Transactio…
บทความทั่วไป ไม่จัดอยู่กลุ่มใหนเลย
ในการทำงานกับฐานข้อมูล คำว่า Transactio…
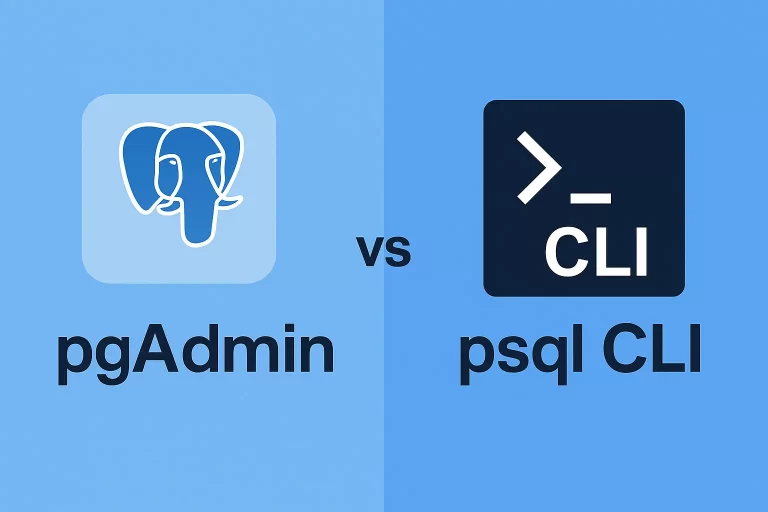
PostgreSQL เป็นฐานข้อมูลที่ได้รับความนิ…
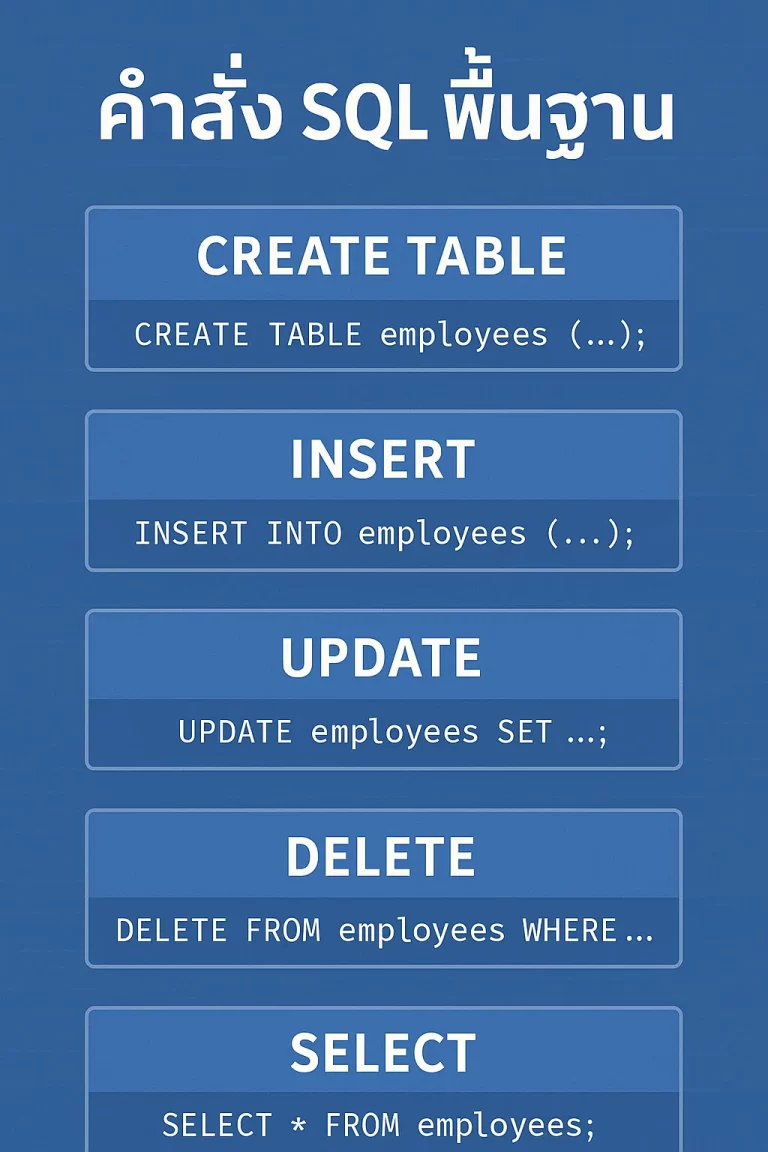
SQL (Structured Query Language) คือภาษา…
หากคุณกำลังเริ่มต้นเรียนรู้เกี่ยวกับฐาน…

จากบทความที่แล้ว “สร้าง Reactive …

สวัสดีทุกคน ห่างหายไปนานมาก ๆ ช่วงนี้พอ…

Webp คืออะไร และทำไมคุณควรต้องทำภาพ JPE…

ต่อจากบทความ Robot Framework เริ่มต้น ก…

สวัสดีครับ พอมีเวลาว่าง ๆ เริ่มศึกษาภาษ…

*** การลงทุนมีความเสี่ยง ผู้ลงทุนควรศึก…
– Vocabulary a double room (ห้องน…
เมื่อไม่กี่วันที่ผ่านมา ทาง google ได้ป…

พาทุกคนมาเริ่มสร้าง Flutter Project แรก…
เมื่อการพัฒนาระบบ ได้มาถึงจุดที่ต้องทำก…

บทความแรกนี้ สำหรับผู้เริ่มต้นอยกาที่จะ…